Creating Your Own LED Light Fixtures
Are you prepared to transform your space with a touch of individuality? Crafting your own LED light fixtures, including DIY LED lights, not only elevates your home s ambiance but also delivers the gratifying experience of creating something uniquely yours.
This article delves into the advantages of custom lighting, guiding you in choosing the ideal LED lights while providing a comprehensive list of materials and tools essential for your project, such as LED strip lights and power supplies.
With clear, step-by-step instructions, innovative customization ideas, and handy maintenance tips, you ll be fully equipped to illuminate your DIY adventure!
Contents
- Key Takeaways:
- Choosing the Right LED Lights
- Materials and Tools Needed
- Step-by-Step Guide to Building LED Light Fixtures
- Customizing Your LED Light Fixtures
- Maintenance and Troubleshooting
- Frequently Asked Questions
- What materials do I need to create my own LED light fixtures?
- Can I use any type of LED strips for my DIY light fixture?
- Do I need any electrical knowledge to create my own LED light fixtures?
- How do I determine the appropriate power supply for my LED light fixtures?
- Can I customize the color and brightness of my DIY LED light fixtures?
- Are there any safety precautions I should take when creating my own LED light fixtures?
Key Takeaways:

- Get creative and save money by building your own LED light fixtures!
- Consider factors like wattage, colour temperature, and lumens when choosing the right LED lights, including low voltage LED options for your DIY project.
- Invest in essential supplies like LED strips, aluminum channels, cable connectors, and soldering tools to build your own custom LED fixtures.
Benefits of Creating Your Own
Creating your own LED lighting solutions opens up a world of exciting possibilities! Projects like DIY LED lights and LED strip lights can elevate both the aesthetic and practical elements of your space. These custom projects ignite your creativity and allow for personal expression while championing energy efficiency and sustainability.
You have the power to select the ideal components that cater to your specific needs. By diving into these hands-on lighting endeavors, including the use of LED ribbon and diffuser panels, you can design unique fixtures perfectly aligned with your style and functional requirements, resulting in a lighting setup that truly reflects your vision.
Financially, DIY projects can be impressive. Sourcing materials and components often costs significantly less than ready-made alternatives. You can explore a myriad of customization possibilities, from adjusting brightness and colour temperature to crafting intricate designs that seamlessly blend with your decor.
Many enthusiasts proudly share their successful projects online, showcasing everything from LED light strips integrated into furniture to ambient mood lighting designed for entertainment spaces. These inspiring examples highlight the versatility of LED solutions and encourage others to embark on their own creative journeys, fostering a vibrant community among DIY lighting aficionados.
Crafting your own lighting solutions can be fun and rewarding!
Choosing the Right LED Lights
When selecting the perfect LED lights for your projects, it’s essential to understand the different types available, including LED strip lights and bulbs, to create the ambience and functionality you desire. Consider exploring different lighting materials and lighting effects to ensure optimal results.
Pay close attention to factors like colour temperature, as it plays a pivotal role in shaping the mood of a space. Spectral distribution, which refers to how light affects color appearance, is another important consideration.
Choosing the right AC adaptors and power supply is vital, ensuring that your lighting setup meets electrical requirements and delivers optimal performance. Consider brands like American Greenlighting and resources like banggood.com for purchasing supplies.
Dive into your DIY lighting adventure today and let your creativity shine!
Factors to Consider
When selecting LED lighting solutions for your projects, several critical factors demand your attention, including energy efficiency, the complexities of the installation process, and the appropriate connector types necessary for a seamless setup. Effective concept development and understanding lighting applications can make a significant difference.
As you embark on your LED lighting installation, it’s essential to check how bright you need the lights for your specific environment and choose the color temperature that best achieves the desired ambiance. Considerations such as fixture compatibility and the physical layout of the space can significantly influence your lighting choices, making it crucial to assess the placement of light sources alongside their corresponding fixtures.
Selecting the correct mounting hardware is not just about ensuring a stable installation; it also contributes to the longevity of the setup, preventing potential issues that could arise from improper installation. By thoughtfully weighing these factors, you’ll be amazed at how easy it is to find the perfect lighting solution for your needs!
Materials and Tools Needed
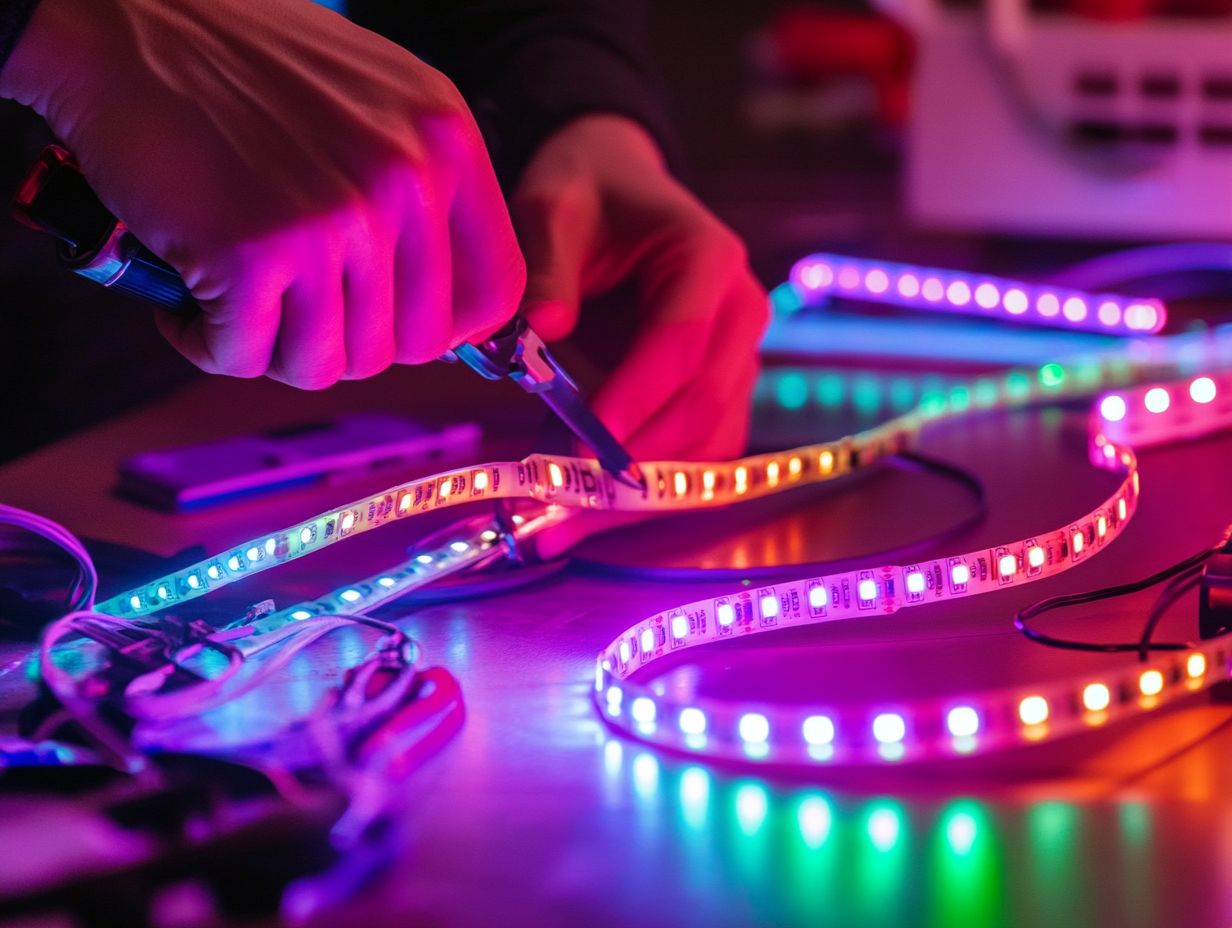
Successfully building your own LED fixtures requires a thoughtful approach to gathering the right materials and tools. Ensuring you have everything at your fingertips, including items from your local home center or online stores like banggood.com, will lead to a seamless installation experience.
Here are the key components you’ll need:
- Aluminum rails for housing the LED strips
- Heat sinks to effectively manage temperature, which is essential for long-lasting performance
You’ll also need a range of wiring diagrams to navigate the electrical setup with ease. Having tools like a Dremel tool, hacksaw, and utility knife will help you make precise cuts and mount your custom LED lights, ultimately achieving a polished, professional finish for your DIY project.
Essential Supplies for Building
When you embark on your LED lighting project, having the right supplies at your fingertips is essential for ensuring a successful and efficient build. Items such as cable connectors for linking your LED strips, wire nuts for secure electrical connections, and an LED profile for housing your lights will significantly enhance the quality of your final product. Don’t forget to consider a translucent drop ceiling for even light distribution.
Don’t overlook the importance of tools like a hacksaw for cutting materials and clippers for trimming wires; they are crucial for achieving the precise fit and finish necessary in any DIY lighting setup.
Additional essentials include soldering equipment for joining electrical components together, along with heat shrink tubing to protect your wiring from wear and tear. A multimeter will also prove invaluable for troubleshooting your setup, helping you ensure that voltage levels are safe and consistent.
And let s not forget about mounting brackets or adhesive tape for easy installation and flexibility in positioning your lights. The right tools not only facilitate a smooth installation process but also simplify routine maintenance, allowing for straightforward replacement or adjustment of fixtures as needed. Grab these essential supplies and tools now to create a stunning LED lighting project! Investing in quality tools like those from brands such as KLUS and Aladdin Bi-Flex can further enhance your project.
By investing in these essential supplies and tools, you dramatically increase your chances of achieving a polished, professional-looking LED lighting project.
Step-by-Step Guide to Building LED Light Fixtures
Creating your own LED light fixtures is not just a project; it s an enjoyable journey that can be made easier with a clear guide and thorough concept development.
Begin by assembling all the essential materials, including LED strip lights and heat sinks. You should also gather mounting clips.
Next, ensure you have the appropriate tools at hand, such as a Dremel tool and hacksaw. As you progress, follow clear wiring diagrams to connect your parts correctly, paying close attention to safety standards for all connections. By incorporating a light switch into your setup, you ll enhance the usability of your creation, making your DIY endeavor both practical and user-friendly.
Instructions and Tips
Clear instructions can make your DIY lighting experience much better, guiding you through the installation process while minimizing potential challenges. Embrace the idea of trial and error; finding the perfect configuration for your LED lighting solutions may require some time and experimentation.
Keep in mind that proper maintenance of your fixtures, such as cleaning them regularly to avoid dirt buildup, will extend their lifespan and ensure consistent performance. This way, you can enjoy your custom-built lighting for years to come.
When you embark on your project, take a moment to thoroughly read the installation manual that comes with your LED fixtures. Understanding the specific requirements for wiring and placement, as indicated in the installation guide, is crucial for a successful setup.
Invest in quality tools to sidestep complications and ensure that all components are compatible. Keep a notebook as you try different angles and positions for your lights; this can prove immensely helpful for any future adjustments.
Regularly check your connections. Clean the fixtures to prevent dirt buildup, which helps maintain both functionality and efficiency. Remember, each step you take is part of your learning journey, so don t hesitate to seek advice from online forums or tutorials as you refine your approach.
Customizing Your LED Light Fixtures
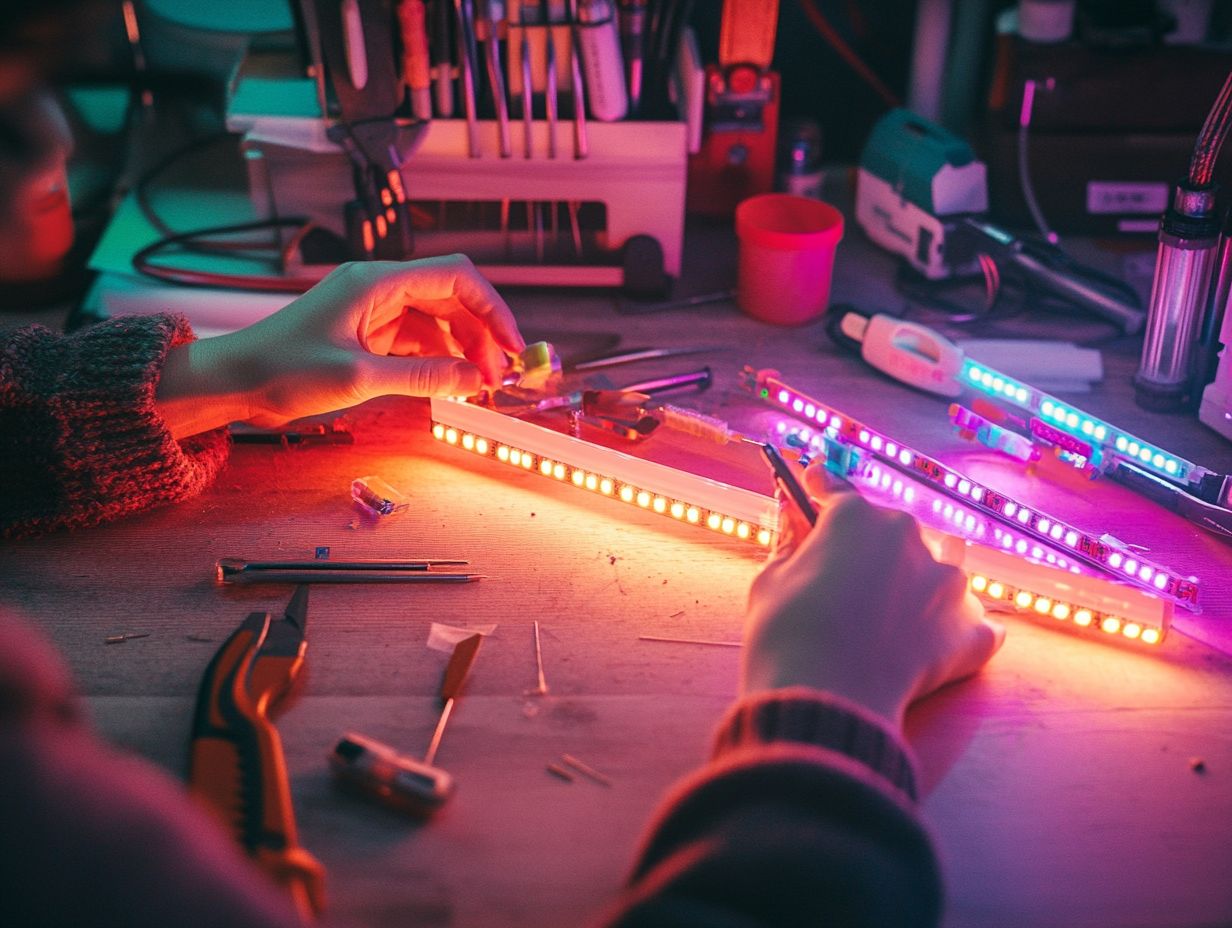
Customizing your LED light fixtures gives you the opportunity to express your creativity and tailor your designs to meet unique lighting applications and personal preferences. You can choose different shades of light, from warm to cool, and incorporate various shapes and configurations, opening up a world of possibilities for personalized fixtures.
Embrace the DIY spirit by experimenting with different designs and setups. Make sure your lights not only work well but also look great, enhancing the aesthetic appeal of your home or workspace.
Maximize Your LED Lighting with Creative Personalization
There are countless creative ways to personalize your homemade LED lights. These options allow you to design custom creations that truly reflect your style and cater to your lighting needs. Incorporate lighting options like LED ribbons and translucent drop ceilings for a distinctive touch, making your lighting setup stand out in both design and functionality.
Imagine using colored gels to shift the hue of your lights, or incorporating smart technology that lets you set the mood with just a tap of your finger endless possibilities await you! You might also think about integrating different materials, like reclaimed wood or decorative metals, to elevate the visual appeal of your designs. Consider using aluminum rail systems to add a modern touch to your lighting projects.
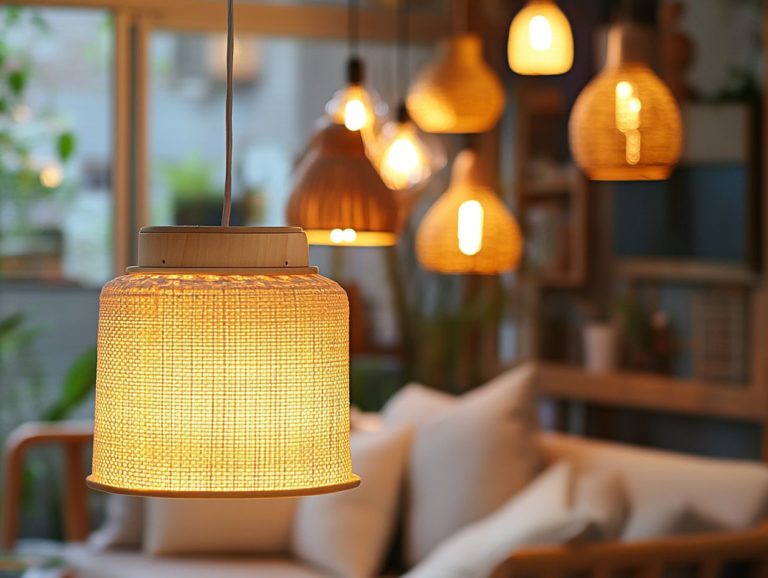
As a DIY enthusiast, you can play around with unique shapes and fixtures, perhaps repurposing vintage lampshades to house modern LED strips. This not only introduces an artistic touch but also pays tribute to timeless design principles. Incorporate LED-specific cleaning solutions to keep your designs looking fresh.
Furthermore, create layered lighting with various LED placements to evoke a dynamic aesthetic that enhances the overall ambiance of any space. Utilizing diffuser panels can help manage color temperature and ensure a comfortable environment.
Maintenance and Troubleshooting
Proper maintenance and troubleshooting are crucial for ensuring your LED strip lights operate at their best and maintain long-term energy efficiency. Regularly review wiring diagrams to verify secure connections and test the light switch to ensure it functions correctly. By doing so, you can prevent minor issues from snowballing into significant problems. Using a type of durable plastic in your installation process can further improve durability.
Equip yourself with common troubleshooting techniques to tackle any concerns swiftly, allowing you to fully enjoy your personalized lighting experience without interruptions. Make sure you have a reliable installation guide to assist you through the process.
Tips for Keeping Your Fixtures in Top Condition
Maintaining your LED lighting solutions in peak condition requires a proactive maintenance approach, ensuring your setup remains functional and efficient. Regular inspections for signs of wear or damage are essential, and periodic cleaning is key to preserving optimal performance. Utilize utility knives or clippers for precise adjustments during maintenance.
Implement energy-efficient practices to extend the lifespan of your lights and reduce overall energy consumption. This allows you to fully appreciate the beauty and functionality of your custom LED fixtures. Consider using low voltage LED options for better energy efficiency.
Periodically check the wiring and connections, as loose or frayed wires can lead to flickering or outright failure. Using LED-specific cleaning solutions can enhance the clarity and brightness of your lights by effectively removing dust and grime without causing any damage. Make sure your connector types are compatible with your LED fixtures.
Establish a routine inspection schedule, such as quarterly checks, to anticipate potential issues before they arise. Staying informed about the latest advancements in LED technology can provide valuable insights on maximizing energy efficiency and improving longevity. Resources like Lighting Ever and John Heisz can offer helpful tips and tricks.
By being diligent in your upkeep, you ensure that your installations shine brighter and align perfectly with your energy-saving goals. Tools like a Sekonic C-700 Spectrometer can help you measure spectral distribution for optimal light quality, which means better lighting for your spaces.
Frequently Asked Questions

1)
Don’t let minor issues turn into major problems! Regular checks can save you time and hassle. Explore DIY projects or maintenance tips to keep your LED lighting solutions bright and efficient.
What materials do I need to create my own LED light fixtures?
- LED strip lights
- Power supply
- Soldering iron
- Wires
- Mounting surface
- Optional: diffuser, heat sink, aluminum rail, adhesive
Add cable connectors and wire nuts for secure connections.
Can I use any type of LED strips for my DIY light fixture?
It is recommended to use LED strips specifically designed for lighting purposes. These typically have a high lumen output and come with adhesive backing for easy installation. You might also look into lighting measurements to choose the best lighting options for your needs.
Do I need any electrical knowledge to create my own LED light fixtures?
While some basic knowledge of electrical wiring is helpful, there are many tutorials and guides available online that can walk you through the process step by step. You can create your own LED light fixtures successfully by following safety precautions. For starting kits, check out various DIY LED lights available online.
How do I determine the appropriate power supply for my LED light fixtures?
The power supply should match the wattage and voltage requirements of your LED strips. Use a slightly higher wattage power supply to ensure optimal performance and prevent overheating. For larger projects, consider 60-watt power supplies to meet higher demands.
Can I customize the color and brightness of my DIY LED light fixtures?
Yes, you can choose LED strips in different colors and brightness levels to achieve your desired look. Adding a dimmer switch allows you to adjust the brightness as needed. For more complex setups, consult concept development guides to explore different lighting applications.
Are there any safety precautions I should take when creating my own LED light fixtures?
Always secure your electrical connections to ensure safety! Avoid using damaged wires or power supplies, and always turn off the power before working on your DIY light fixtures. If you’re uncertain about any steps, consult a professional electrician immediately. Consider using a Dremel tool for precision work and steel stud framing for added stability.


